「这是我参与11月更文挑战的第22天,活动详情查看:2021最后一次更文挑战」
前言上篇展示了取消模拟数据配置环境变量如何模拟登录,今天就直接来试试接入后端接口。
更改语言进入框架,发现是一个很英文的界面,所以第一件事情就是想把它转成中文的。
在src/main.js把
import locale from 'element-ui/lib/locale/lang/en' // lang i18n
复制代码
改为
import locale from 'element-ui/lib/locale/lang/zh-CN' // lang i18n
复制代码
然后发现还是英文的,其实代码内容就是英文的,现在我改一下src/router/index里面的名为constantRoutes列表的第三,四,五个json数据,第一个和第二个是404页面和登录的路由,每一个json表示一个路由,表示在这个单页面上加载哪个组件,这些路由都是页面上的元素点击触发的,还有其他方式触发,后面再了解:
 {
    path: '/',
    component: Layout,
    redirect: '/dashboard',
    children: [{
      path: 'dashboard',
      name: 'Dashboard',
      component: () => import('@/views/dashboard/index'),
      meta: { title: '土圭垚墝后台管理', icon: 'dashboard' }
    }]
  },

  {
    path: '/example',
    component: Layout,
    redirect: '/example/table',
    name: 'Example',
    meta: { title: '导航数据', icon: 'el-icon-s-help' },
    children: [
      {
        path: 'table',
        name: 'Table',
        component: () => import('@/views/table/index'),
        meta: { title: '分类管理', icon: 'table' }
      },
      {
        path: 'tree',
        name: 'Tree',
        component: () => import('@/views/tree/index'),
        meta: { title: '域名管理', icon: 'tree' }
      }
    ]
  },
复制代码
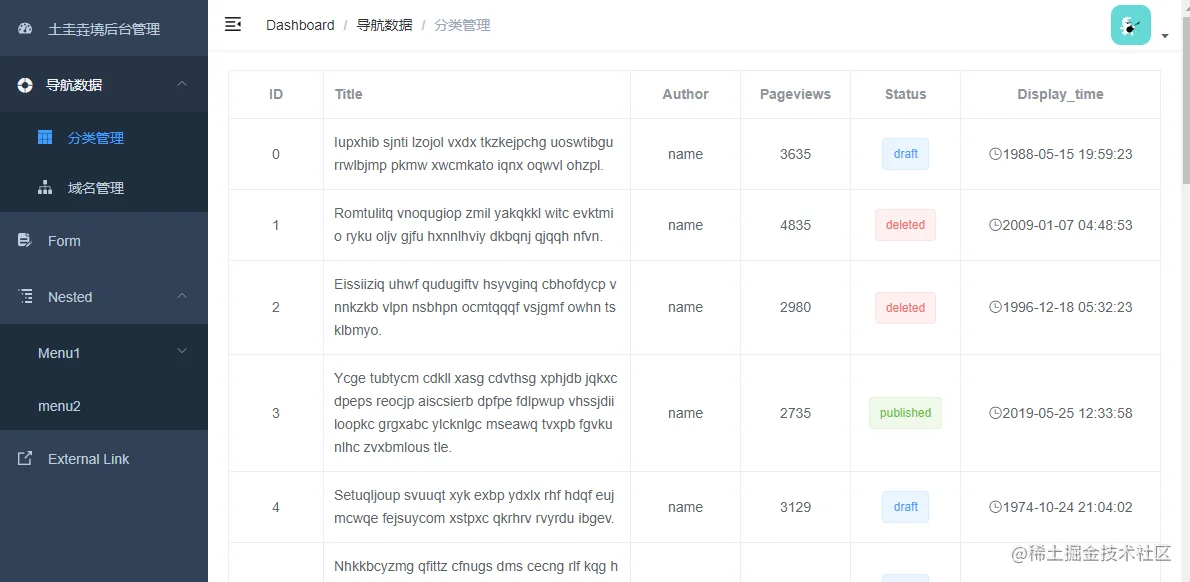
更改这三个看看效果:

找到src/api文件夹新建url.js,输入一下内容:
import request from '@/utils/request'

export function getTypeList() {
  return request({
    url: '/admin/getTypeList',
    method: 'get'
  })
}

复制代码修改src/view/table/index.vue
修改引入的接口方法:
import { getTypeList } from '@/api/url'
复制代码
更换接口方法:
  methods: {
    fetchData() {
      this.listLoading = true
      getTypeList().then(response => {
        this.list = response.data
        this.listLoading = false
      })
    }
  }
复制代码
修改模板内容:
<template>
  <div class="app-container">
    <el-table
      v-loading="listLoading"
      :data="list"
      element-loading-text="Loading"
      border
      fit
      highlight-current-row
    >
      <el-table-column align="center" label="ID" width="95">
        <template slot-scope="scope">
          {{ scope.row.ID }}
        </template>
      </el-table-column>
      <el-table-column label="Title">
        <template slot-scope="scope">
          {{ scope.row.Name }}
        </template>
      </el-table-column>
    </el-table>
  </div>
</template>
复制代码
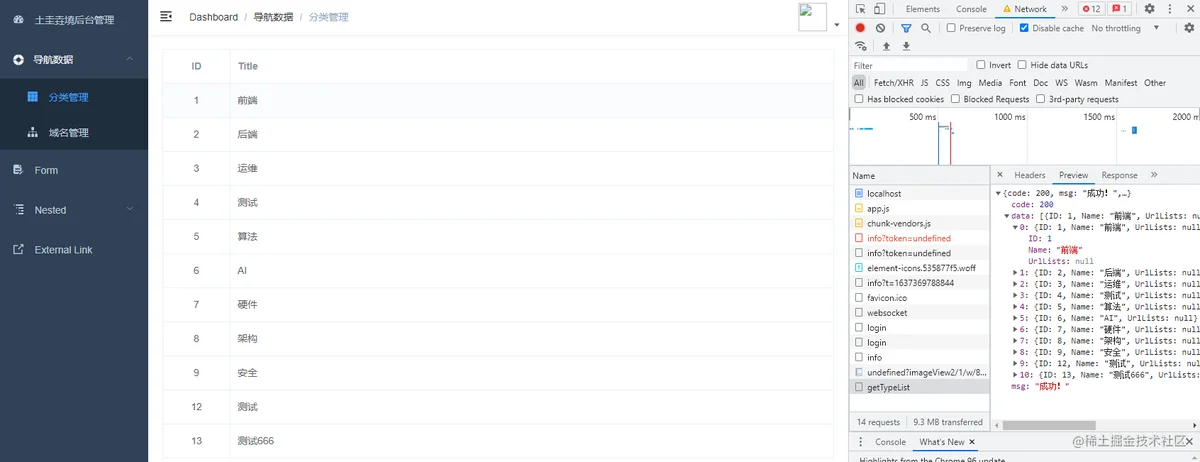
看看效果:

虽然改的东西不多,但是作为初学者的我看到了很多从来没有接触过的东西,这里总结一下有哪些东西:
slot
slot-scopeel-tablelistscope.row.v-loading
element-loading-text="Loading"
table组件
主要是学习了组件的属性,跟Layui框架差不多,组件都有自定义的属性,文档就是主要介绍属性用法
highlight-current-row:打开列表选中效果,是否要高亮当前行。
fit:列的宽度是否自撑开,写上就是默认撑开。
border 是否带有纵向边框 ,默认没有,写上就是有。
下篇继续接入其他的增删改查的接口~
