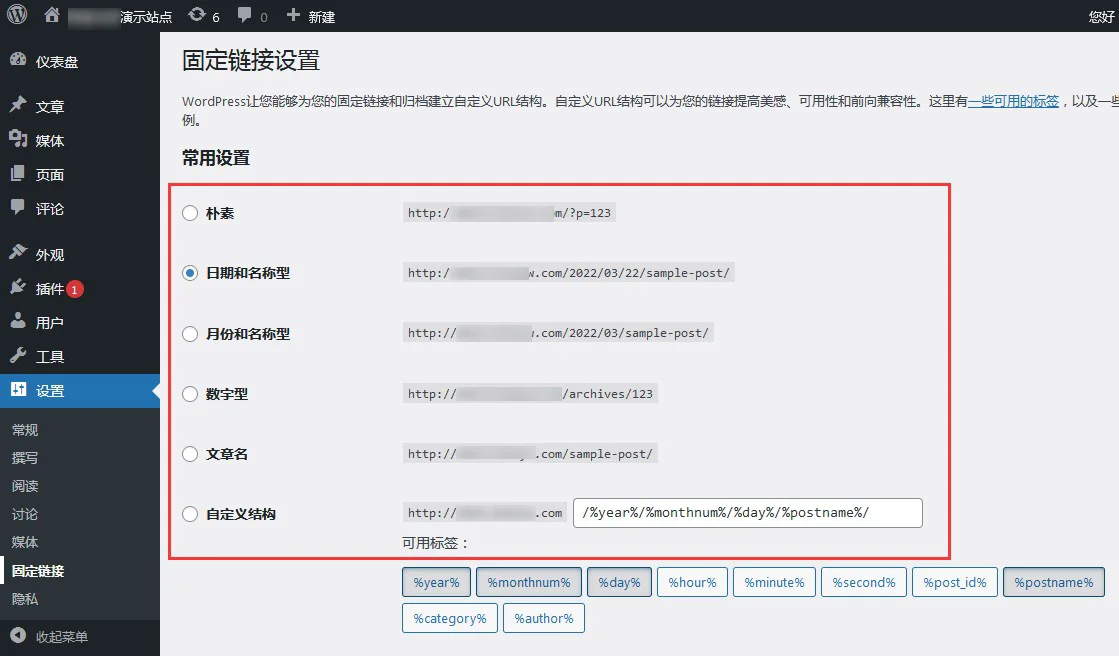
很多个人站长使用WordPress来搭建个人网站,开启了伪静态链接后内页出现404,这个是因为web环境上没有设置伪静态规则导致的,今天就分享下IIS/Apache/Nginx 环境下如何设置伪静态规则
教学内容
首先登入WordPress管理后台 >> 设置 >> 固定链接

IIS伪静态规则
在根目录下新建一个web.config将下面的代码添加到文件中
<?xml version="1.0" encoding="UTF-8"?><configuration>
  <system.webServer>
    <handlers accessPolicy="Read, Script"/>
    <httpErrors>
    </httpErrors>
    <staticContent>
    </staticContent>
    <rewrite>
      <rules>
			<rule name="WordPress: http://cs.yweihu.com" patternSyntax="Wildcard">
				<match url="*"/>
					<conditions>
						<add input="{REQUEST_FILENAME}" matchType="IsFile" negate="true"/>
						<add input="{REQUEST_FILENAME}" matchType="IsDirectory" negate="true"/>
					</conditions>
				<action type="Rewrite" url="index.php"/>
			</rule></rules>
    </rewrite>
  </system.webServer></configuration>
PS:http://cs.yweihu.com为网站域名
Apache伪静态规则
在网站根目录下新建一个 htaccess.txt 文件,添加下面的代码,然后重命名为 .htaccess
RewriteEngine On
RewriteRule .* - [E=HTTP_AUTHORIZATION:%{HTTP:Authorization}]RewriteBase /
RewriteRule ^index\.php$ - [L]RewriteCond %{REQUEST_FILENAME} !-f
RewriteCond %{REQUEST_FILENAME} !-d
RewriteRule . /index.php [L]
Nginx伪静态规则
在站点配置文件中的 server { } 大括号里面添加下面的代码
