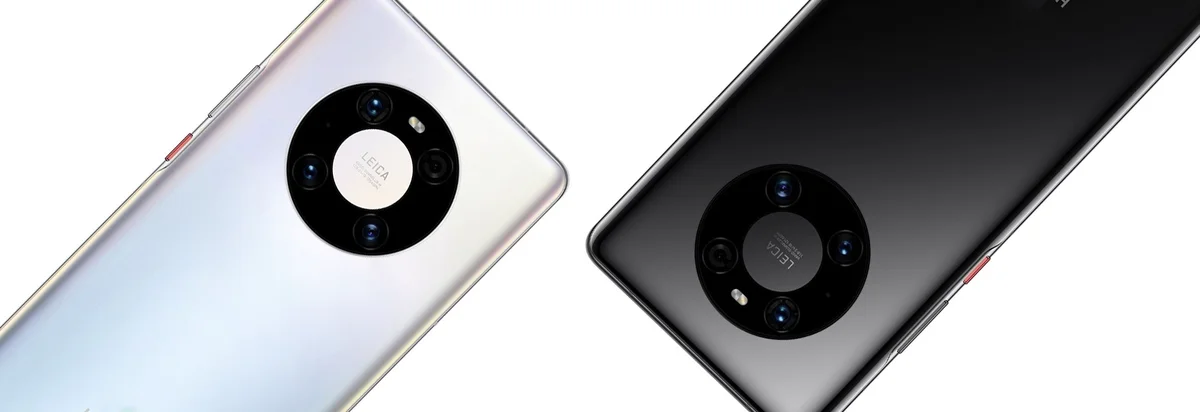
The Huawei Mate 40 Pro is an impressive handset in terms of hardware, but in terms of software, well, that’s a different story. This is because as part of being on the US Entity List, it prevents Huawei from doing business with the likes of Google, and as such, the company’s phones starting from last year’s Mate 30 series all come without Google Play.
Google Play is an important part of the Android experience as it gives users access to Google’s services and the app store where users can find Android apps to download. Sure, there are alternatives to the Google Play Store, but let’s face it, it’s still the most popular place to find your favorite Android apps.
How to install Google Play on your Huawei Mate 40 Pro

We want to point out that this current method relies on running a virtual machine on your Huawei smartphone. In case you’re unfamiliar, a virtual machine basically puts another “machine” on your phone, similar to computer virtualization software that would allow Mac users to run Windows on their computers simultaneously.
This is different from other methods, but we found it to be the simplest method as all you’d need to do is install an app, run it, and you’re or less good to go. As always, do ensure your phone and all important data on it is backed up first in the event that something goes wrong.
- On your Mate 40 Pro, open the browser app and go to https://www.gsxnj.cn/ to download the virtual machine app
- The website is in Chinese, but tap the button on the left to download the 64-bit version of the app
- Once it’s downloaded, click install and grant it the permissions it asks
- Once the installation is complete, go back to your home screen
- Launch the virtual machine app
- Tap the first button at the top to begin
- Tap the blue button at the bottom of the screen
- You will be prompted to grant the app permissions, so tap the button on the right
- Tap the toggle to allow it to display over other apps
- Go back to the installation
- Tap the button below the prompt
- It will then ask for permissions to access things like your location, photos, videos, audio, and more. Grant it permissions where you feel comfortable, although do note that certain features might not work if you do not grant it permissions
- Wait for the installation process to complete
- The virtual machine app will launch and you will now be on a new home screen
- Tap the blue buttons which are basically telling you about some of the features
- Your virtual machine is now installed
- Launch the app drawer like you would on a normal Android phone
- Tap the gear icon to launch the Settings
- Scroll down until you see a globe icon and tap on it to change your language
- Tap the button at the top
- Tap the + button and add English
- Drag English to the top to make English the default language
- Go back to the virtual machine’s home screen and tap the gear app icon
- Tap the second option from the top and toggle it on
- Tap the button on the right
- Tap the button on the right again
- The virtual machine app will restart while it installs the Google Play Store, GMS, and the Google framework
- Pull up the app drawer in the virtual machine and you will now see Google Play available and you can launch it, log into it, and download the various Google apps that you’re missing and other Android apps
While the lack of English during the installation process is a bit disconcerting, all things considered, this is probably one of the more straightforward methods we’ve seen. We want to point out that this is a virtual machine which means that if you restart your phone or turn it off, the app will be closed and you’ll need to relaunch it again.
It might be a bit troublesome, but if you just need to run a few Google apps every now and then, this could be a more efficient method.
