1.服务器搭建Python环境
1.1 安装python3
1.2 创建虚拟环境
virtualenv envsname
1.3 代码传送到服务器
gitFZ1.4 安装第三方包
requirement.txtrequirement.txt1.5 迁移数据库
-
python manage.py makemigrations
-
python manage.py migrate
-
本博客只是做简单发布的示例,因此暂时不做数据库的迁移工作。注:如果服务器的数据库支持远程连接,亦可使用Navicat进行数据库的迁移工作
1.6 测试
-
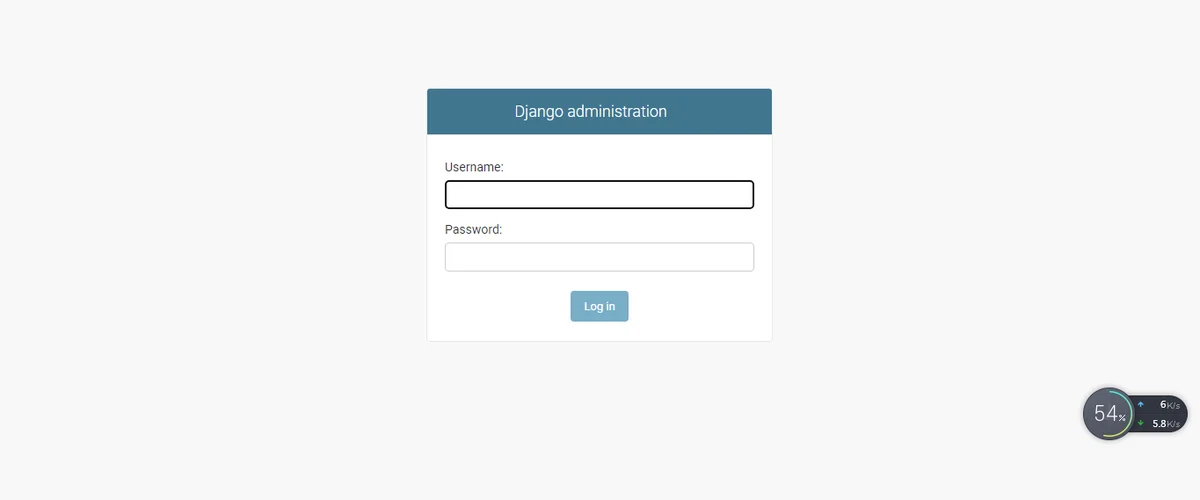
查看一下django是否等够正常启动
-

2.安装Nginx
3.发布
3.1 简单发布
nohup.outnohup python manage.py runserver 127.0.0.1:8000 &
nohup command &
# 修改nginx.conf的配置文件,
server {
        listen       80;
        server_name  服务器IP;

        #charset koi8-r;

        #access_log  logs/host.access.log  main;

        location / {
            proxy_pass  http://127.0.0.1:8000/;#django服务启动的地址
        }
cd sbin
./nginx
3.2 上线发布
-
补充:nginx uwsgi wsgi django 这些东西究竟是什么关系.参考文献
-

1.安装uwsgi
pip install uwsgi

2.配置nginx.conf文件
# 新增加一个server配置,此过程繁多建议将文件下载下来修改后在传到服务器上
server {
	listen 8000; #暴露给外部访问的端口
	server_name localhost;
	charset utf-8;
	location / {
		include uwsgi_params;
		uwsgi_pass 127.0.0.1:8997; #外部访问8996就转发到内部8997
	}
	location /static/ {
		alias /data/pythoncode/dejangoTest/web/static/; #项目静态路径设置
	}
}

3.使用uwsgi启动django
django自带的wsgiref 在调试模式下使用的wsgi的文件,网关接口,协议
uwsgi:协议
uWSGI:具体实现方式
# uwsgi.ini file
[uwsgi]

# Django-related settings
socket = :8000

# the base directory (full path)
chdir = /root/data/pythoncode/testcode/mypro

# Django s wsgi file
module = mypro.wsgi

# process-related settings
master = true

# home = /root/data/envs/anydjango

# maximum number of worker processes
processes = 5

#maximum number of worker threads
threads = 5

virtualenv=/root/data/envs/anydjango

# try to remove all of the generated file/sockets
vacuum = true

# 使进程在后台运行,并将日志打到指定的日志文件或者udp服务器
daemonize = /root/data/pythoncode/testcode/mypro/log/myuwsgi.log
uwsgi --http :8000 --module dejangoTest.wsgi
killall uwsgi
4.设置静态文件
SATAIC_ROOT=os.path.join(BASE_DIR,'web/static/')#由于我的静态文件是放在应用里面的,因此我要在路径前加上应用名

# 执行命令
python manage.py collectstatic

nginxserver {
listen 80;
server_name 127.0.0.1;
# charset UTF-8;
#access_log logs/host.access.log main;
location / {
include uwsgi_params;
uwsgi_pass 127.0.0.1:8000;
}
location /static {
alias /www/res/statics;
}
}

uwsgi --ini uwsgi.ini
./nginx -s reload
