一、下载golang
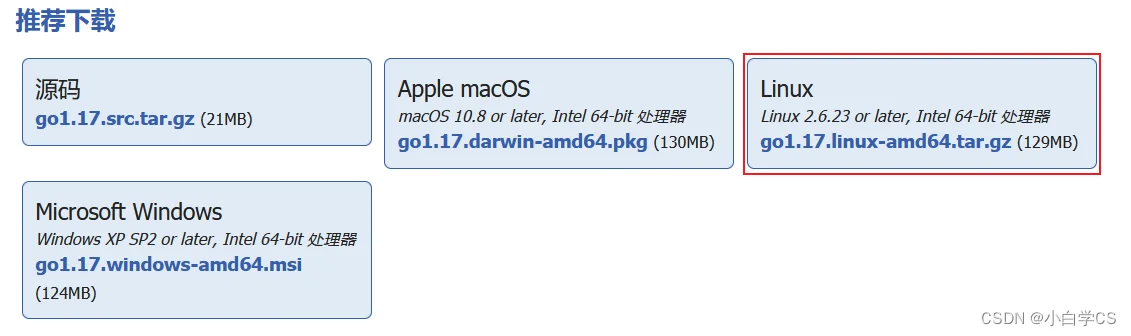
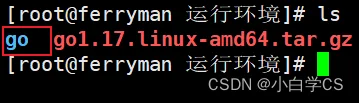
2、下载后解压。
tar -zxvf go1.17.linux-amd64.tar.gz
二、配置环境变量
vim /etc/profile
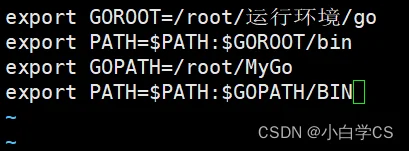
1、在环境变量最后添加GOROOT环境变量,GOROOT变量为go的安装目录,类似java的jdk安装目录,GOPATH类似IDEA的workspace。
建议采用单独文件方式以便于管理
vi /etc/profile.d/golang.sh
2、添加
export GOROOT=/root/运行环境/go
export PATH=$PATH:$GOROOT/bin
export GOPATH=/root/MyGo
export PATH=$PATH:$GOPATH/BIN
3、刷新环境变量
source /etc/profile.d/golang.sh
三、运行测试文件
1、创建测试文件
vim Hello.go
2、文件代码
package main

import "fmt"

func main() {
	fmt.Println("hello world")
	var str string = "hello agin"
	fmt.Println(str)
}
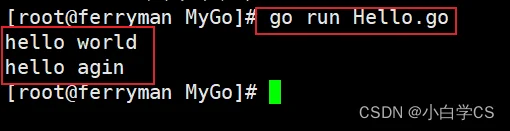
3、运行文件
go run ./Hello.go
4、输出内容
hello world
hello agin