
-
安装:按github官方文档操作即可
- 简单示例
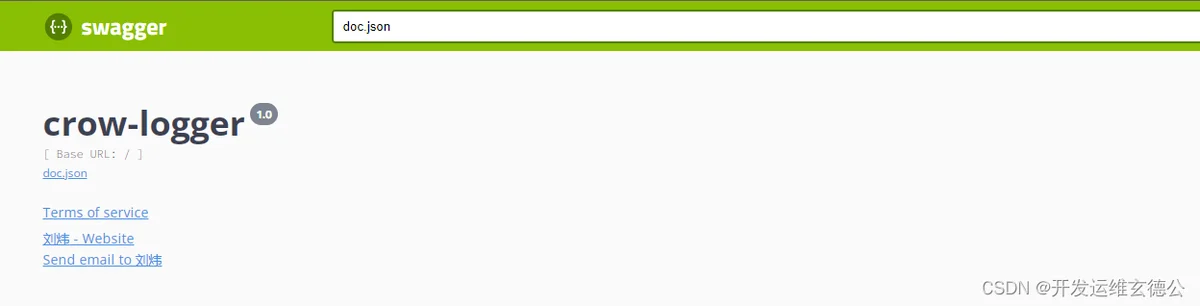
// @title crow-logger
// @version 1.0
// @termsOfService http://10.10.xxx.65
// @contact.name 刘炜
// @contact.url http://10.10.xxx.65
// @contact.email liuwei-cto@xxx.com.cn
// @BasePath /
- 以后这些信息会出现在swagger页面头
- 官方完整示例
//  @title           Swagger Example API
//  @version         1.0
//  @description     This is a sample server celler server.
//  @termsOfService  http://swagger.io/terms/

//  @contact.name   API Support
//  @contact.url    http://www.swagger.io/support
//  @contact.email  support@swagger.io

//  @license.name  Apache 2.0
//  @license.url   http://www.apache.org/licenses/LICENSE-2.0.html

//  @host      localhost:8080
//  @BasePath  /api/v1

//  @securityDefinitions.basic  BasicAuth

//  @securityDefinitions.apikey  ApiKeyAuth
//  @in                          header
//  @name                        Authorization
//  @description                 Description for what is this security definition being used

//  @securitydefinitions.oauth2.application  OAuth2Application
//  @tokenUrl                                https://example.com/oauth/token
//  @scope.write                             Grants write access
//  @scope.admin                             Grants read and write access to administrative information

//  @securitydefinitions.oauth2.implicit  OAuth2Implicit
//  @authorizationUrl                     https://example.com/oauth/authorize
//  @scope.write                          Grants write access
//  @scope.admin                          Grants read and write access to administrative information

//  @securitydefinitions.oauth2.password  OAuth2Password
//  @tokenUrl                             https://example.com/oauth/token
//  @scope.read                           Grants read access
//  @scope.write                          Grants write access
//  @scope.admin                          Grants read and write access to administrative information

//  @securitydefinitions.oauth2.accessCode  OAuth2AccessCode
//  @tokenUrl                               https://example.com/oauth/token
//  @authorizationUrl                       https://example.com/oauth/authorize
//  @scope.admin                            Grants read and write access to administrative information
- 官方说明
| 注释 | 说明 | 示例 |
|---|---|---|
| title | 必填 应用程序的名称。 | // @title Swagger Example API |
| version | 必填 提供应用程序API的版本。 | // @version 1.0 |
| description | 应用程序的简短描述。 | // @description This is a sample server celler server. |
| tag.name | 标签的名称。 | // @tag.name This is the name of the tag |
| tag.description | 标签的描述。 | // @tag.description Cool Description |
| tag.docs.url | 标签的外部文档的URL。 | |
| tag.docs.description | 标签的外部文档说明。 | // @tag.docs.description Best example documentation |
| termsOfService | API的服务条款。 | // @termsOfService http://swagger.io/terms/ |
| contact.name | 公开的API的联系信息。 | // @contact.name API Support |
| contact.url | 联系信息的URL。 必须采用网址格式。 | // @contact.url http://www.swagger.io/support |
| contact.email | 联系人/组织的电子邮件地址。 必须采用电子邮件地址的格式。 | // @contact.email support@swagger.io |
| license.name | 必填 用于API的许可证名称。 | // @license.name Apache 2.0 |
| license.url | 用于API的许可证的URL。 必须采用网址格式。 | // @license.url http://www.apache.org/licenses/LICENSE-2.0.html |
| host | 运行API的主机(主机名或IP地址)。 | // @host localhost:8080 |
| BasePath | 运行API的基本路径。 | // @BasePath /api/v1 |
| accept | API 可以使用的 MIME 类型列表。 请注意,Accept 仅影响具有请求正文的操作,例如 POST、PUT 和 PATCH。 值必须如“Mime类型”中所述。 | // @accept json |
| produce | API可以生成的MIME类型的列表。值必须如“Mime类型”中所述。 | // @produce json |
| query.collection.format | 请求URI query里数组参数的默认格式:csv,multi,pipes,tsv,ssv。 如果未设置,则默认为csv。 | // @query.collection.format multi |
| schemes | 用空格分隔的请求的传输协议。 | // @schemes http https |
| x-name | 扩展的键必须以x-开头,并且只能使用json值 | // @x-example-key {“key”: “value”} |
- 示例
在gin路由中添加一条路由配置:
r.GET("/swagger/*any", ginSwagger.WrapHandler(swaggerFiles.Handler))
- 完整示例
_ "crow-logger/docs"swagger initdocsimport (
_ "crow-logger/docs"
"github.com/gin-gonic/gin"
ginSwagger "github.com/swaggo/gin-swagger"
"github.com/swaggo/gin-swagger/swaggerFiles"
)
func ServerWebsocket() {
r := gin.Default()
r.GET("/swagger/*any", ginSwagger.WrapHandler(swaggerFiles.Handler))
groupV1 := r.Group("/api/v1")
{
groupV1.GET("/ping", Ping)
groupV1.GET("/version", Version)
}
deployment := r.Group("/api/v1/logger")
{
deployment.GET("/",GetLog)
deployment.GET("/file",DownLog)
}
r.Run(":1911")
}
4.1 GET
- query模式
- 代码
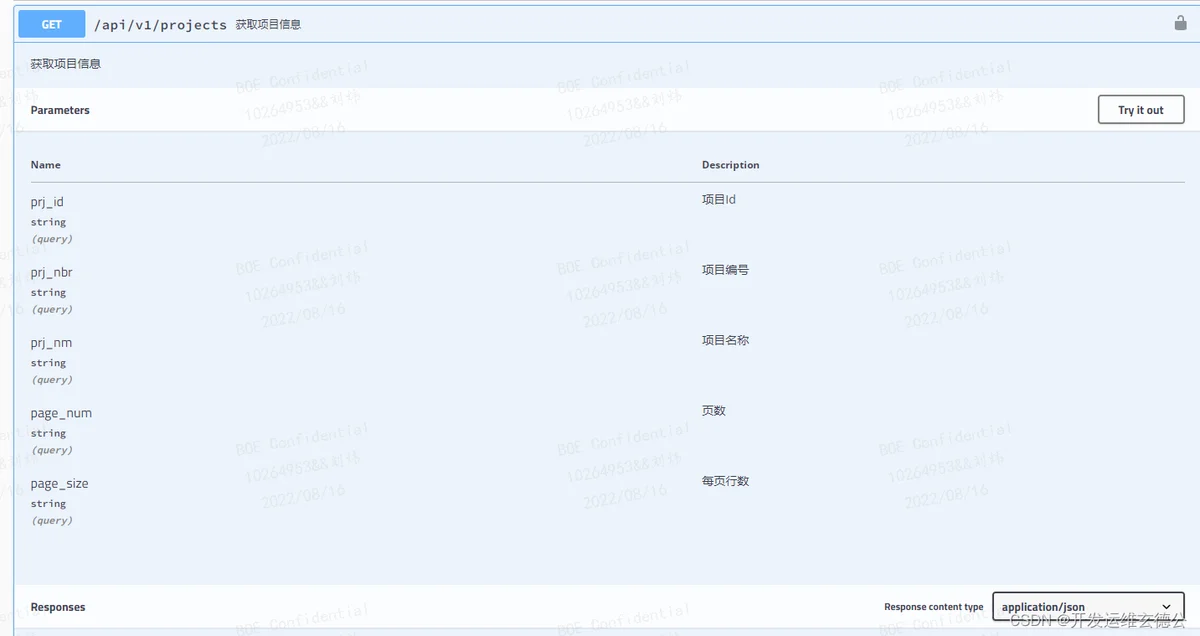
// SelectPrjs 获取项目信息
// @Summary 获取项目信息
// @Description 获取项目信息
// @Tags 项目管理
// @Param prj_id query string false "项目Id"
// @Param prj_nbr query string false "项目编号"
// @Param prj_nm query string false "项目名称"
// @Param page_num query string false "页数"
// @Param page_size query string false "每页行数"
// @Success 200 {object} response.Response{data=apimodels.ProjectListResponse} "{"code": 200, "data": [...]}"
// @Router /api/v1/projects [get]
// @Security Bearer
// @Param prj_id query string false "项目Id"prj_idquerystringfalse项目Id- swagger显示
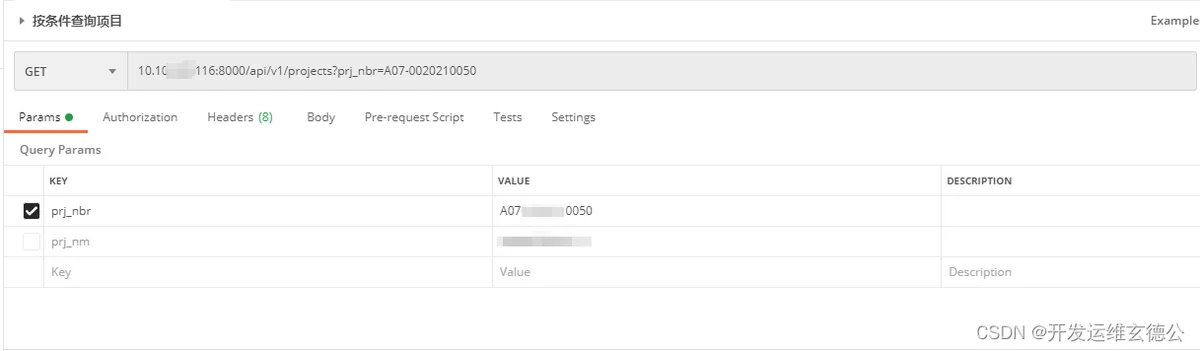
- 附:postman调用
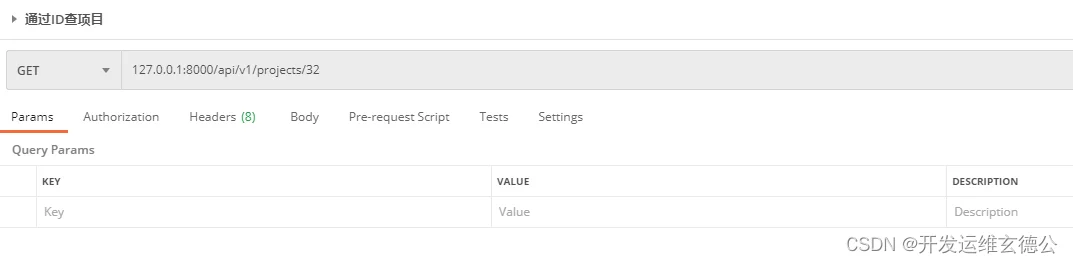
- path 模式
- 代码
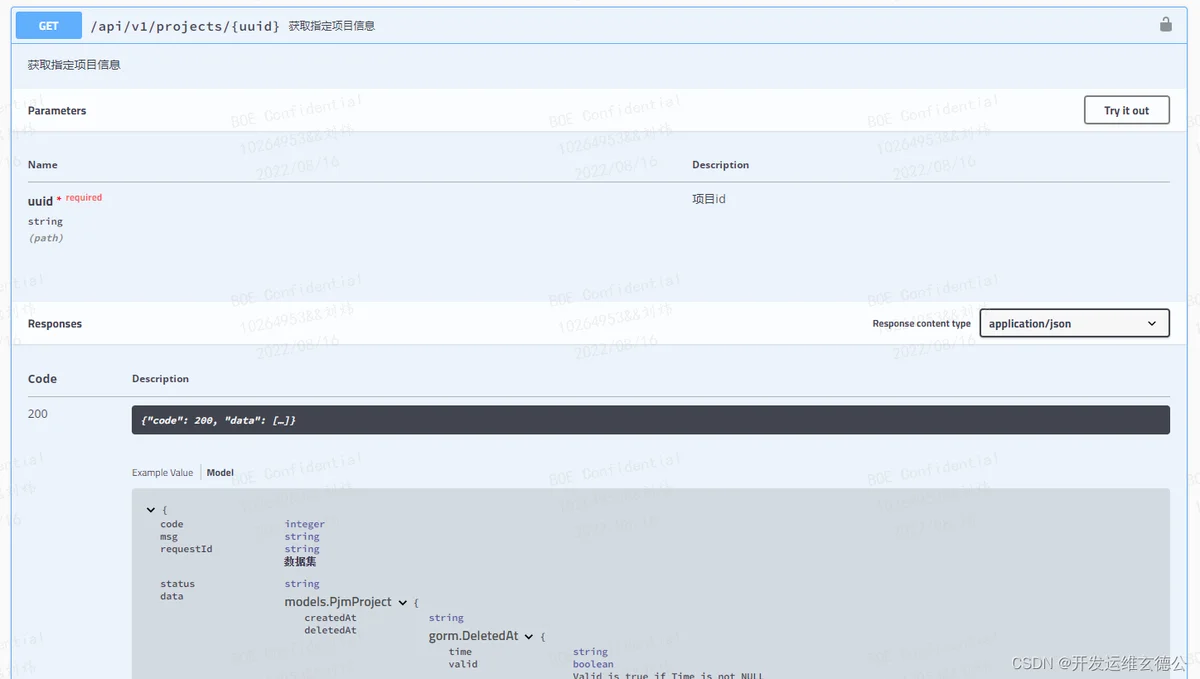
// SelectPrj 获取指定项目信息
// @Summary 获取指定项目信息
// @Description 获取指定项目信息
// @Tags 项目管理
// @Param uuid path string true "项目id"
// @Success 200 {object} response.Response{data=models.PjmProject} "{"code": 200, "data": [...]}"
// @Router /api/v1/projects/{uuid} [get]
// @Security Bearer
@Param uuid path string true "项目id"uuidpathstringtrue项目Id- swagger显示
- 附:postman调用
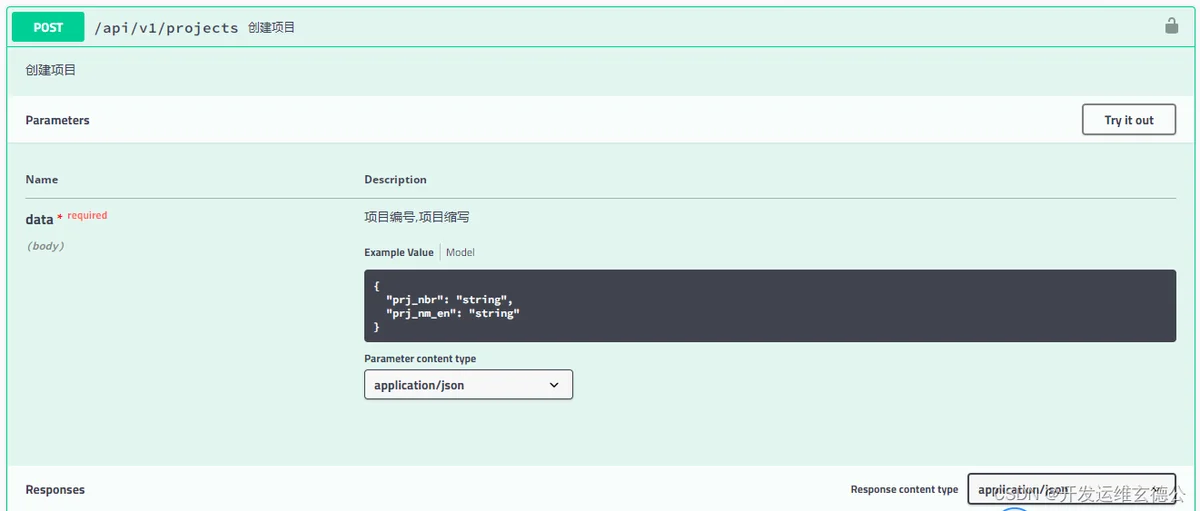
4.2 POST
- body模式
- 代码
// AddProject 创建项目
// @Summary 创建项目
// @Description 创建项目
// @Tags 项目管理
// @Accept  application/json
// @Product application/json
// @Param data body ProjectInput true "项目编号,项目缩写"
// @Success 200 {object} response.Response{data=string} "{"code": 200, "data": [...]}"
// @Router /api/v1/projects [post]
// @Security Bearer
// @Param data body ProjectInput true "项目编号,项目缩写""datadatabodyProjectInputtrue项目编号,项目缩写- swagger显示
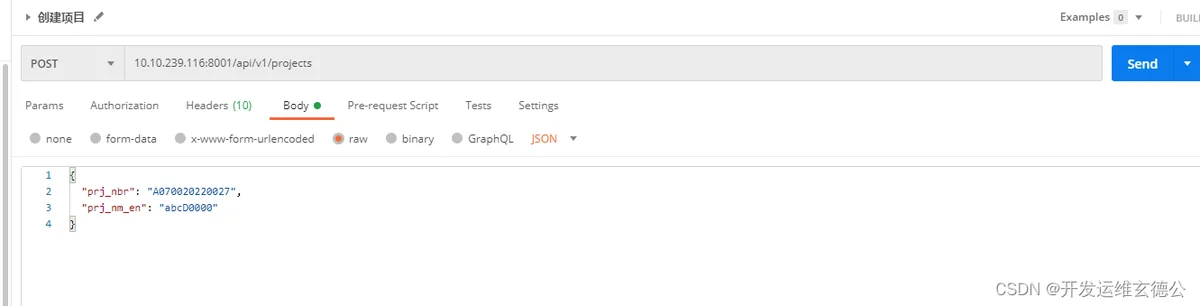
- 附:postman调用
- formData模式
同PUT,见下文 PUT 的 formData 模式
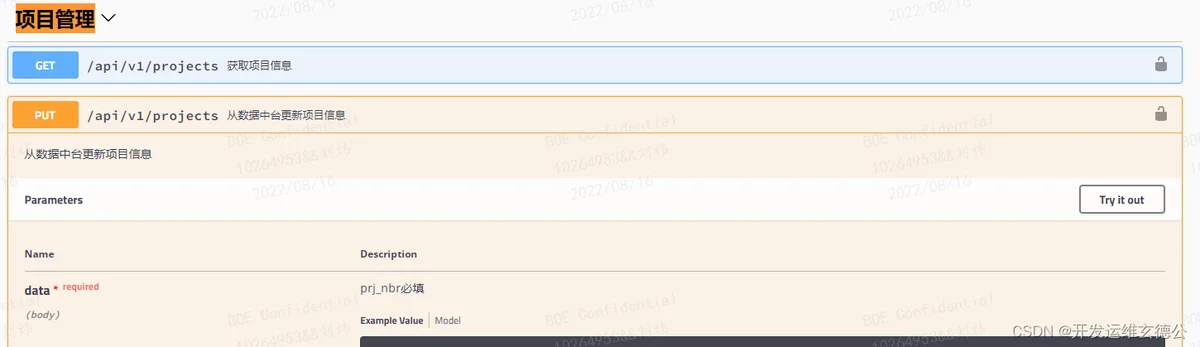
4.3 PUT
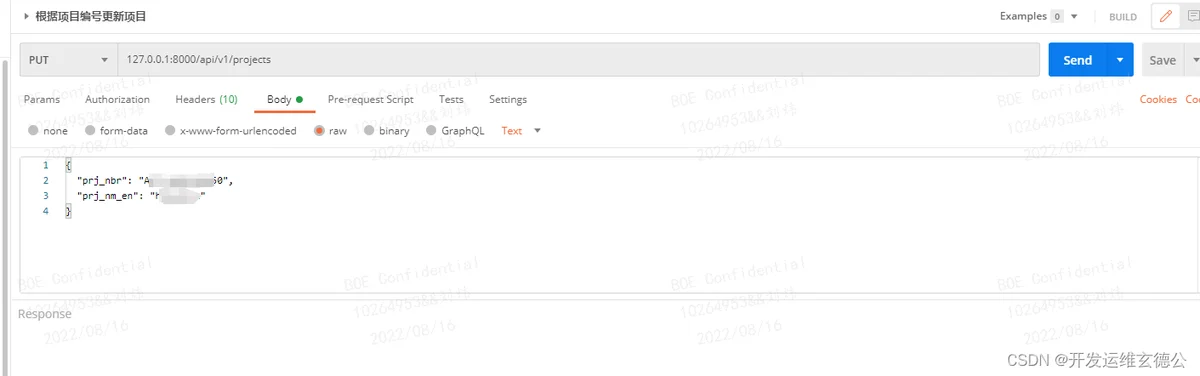
- body模式
- 代码
// UpdateProject 从数据中台更新项目信息
// @Summary 从数据中台更新项目信息
// @Description 从数据中台更新项目信息
// @Tags 项目管理
// @Accept  application/json
// @Product application/json
// @Param data body models.PjmProject true "prj_nbr必填"
// @Success 200 {object} response.Response{data=string} "{"code": 200, "data": [...]}"
// @Router /api/v1/projects [put]
// @Security Bearer
说明:
和POST相同,参加上文
-
swagger显示
-
附:postman调用
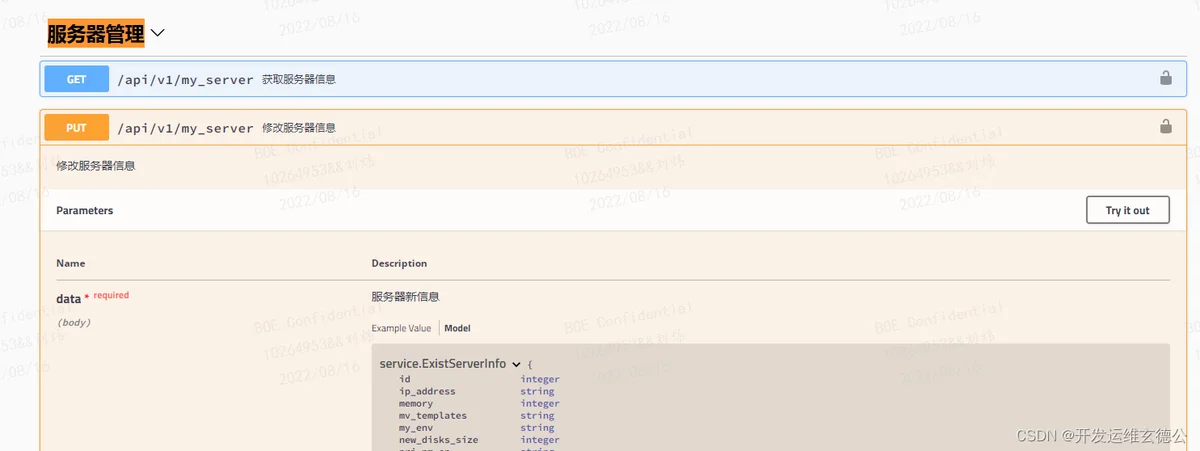
- formData模式
- 代码
// AutoModifyIp 自动修改smartX服务器IP
// @Summary 自动修改smartX服务器IP
// @Description 自动修改smartX服务器IP
// @Tags 服务器管理
// @Accept  application/x-www-form-urlencoded
// @Product application/json
// @Param uuid formData string true "服务器UUID"
// @Success 200 {object} response.Response{data=string} "{"code": 200, "data": [...]}"
// @Router /api/v1/my_server/smart_x_ip [put]
// @Security Bearer
-
swagger 显示
-
附:postman调用

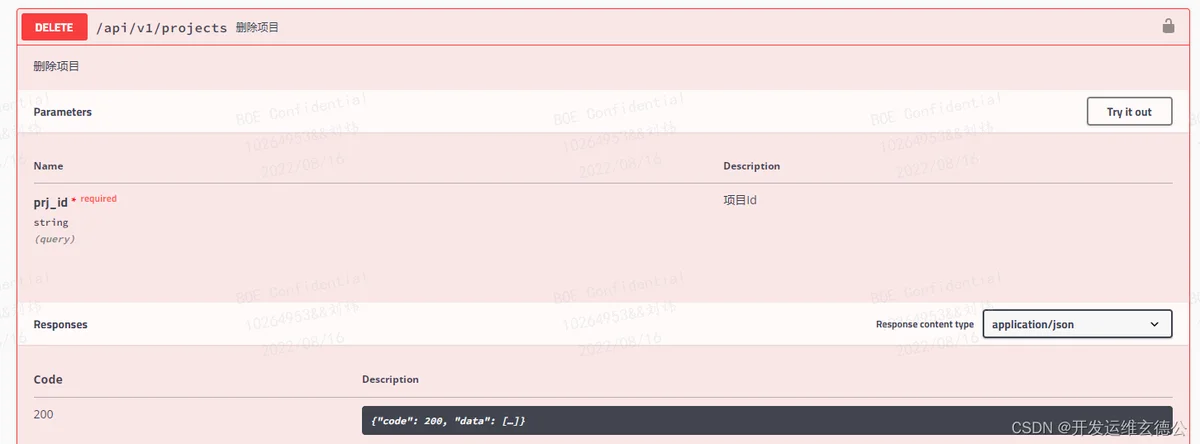
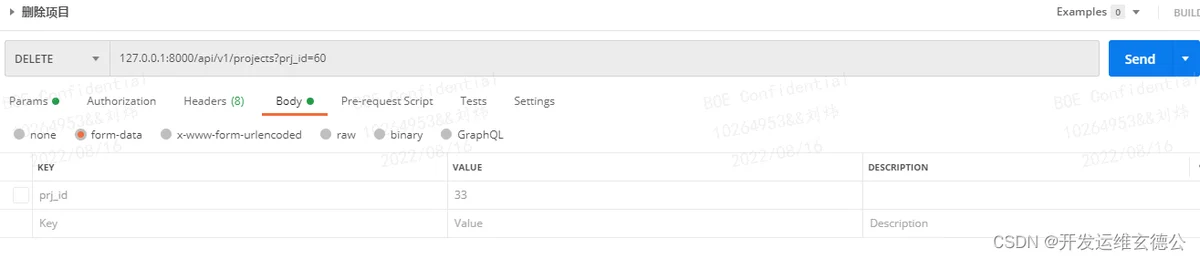
4.4 DELETE
- query
- 代码
// DeleteProject 删除项目
// @Summary 删除项目
// @Description 删除项目
// @Tags 项目管理
// @Param prj_id query string true "项目Id"
// @Success 200 {object} response.Response{data=string} "{"code": 200, "data": [...]}"
// @Router /api/v1/projects [delete]
// @Security Bearer
说明:
说明参考上文 GET
- swagger 显示
- 附: postman调用
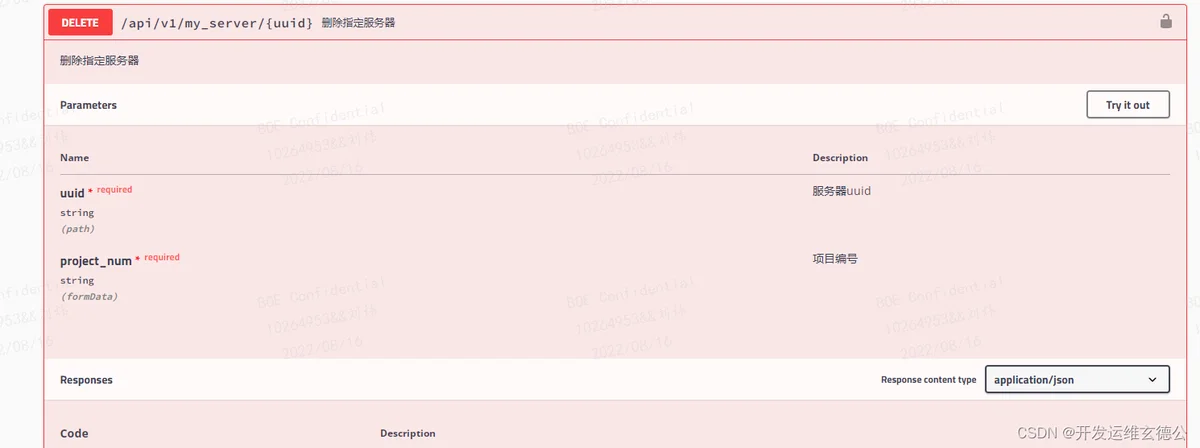
- Path
- 代码
// DeleteServer 删除指定服务器
// @Summary 删除指定服务器
// @Description 删除指定服务器
// @Tags 服务器管理
// @Param uuid path string true "服务器uuid"
// @Param project_num formData string true "项目编号"
// @Success 200 {object} response.Response{data=string} "{"code": 200, "data": [...]}"
// @Router /api/v1/my_server/{uuid} [delete]
// @Security Bearer
说明:
参照GET的path,本例除了path还包含了一个formData
- swagger显示
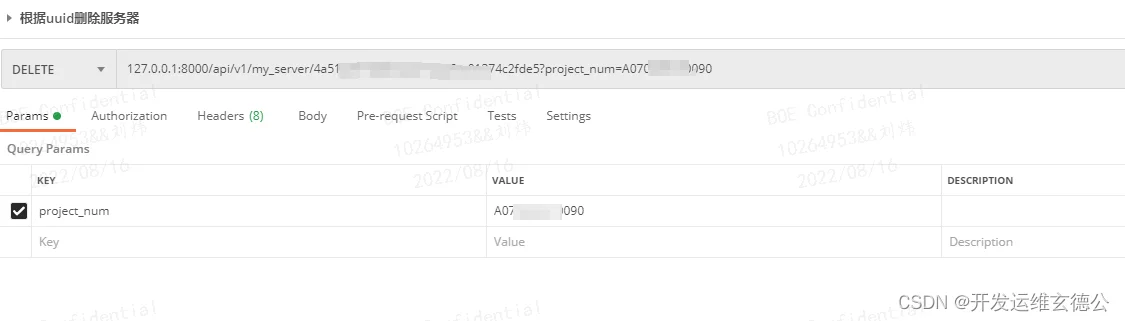
- 附:postman调用
swag init --parseDependency
--parseDependency之后正常编辑即可。
6. 访问- url : http://127.0.0.1/swagger/index.html
