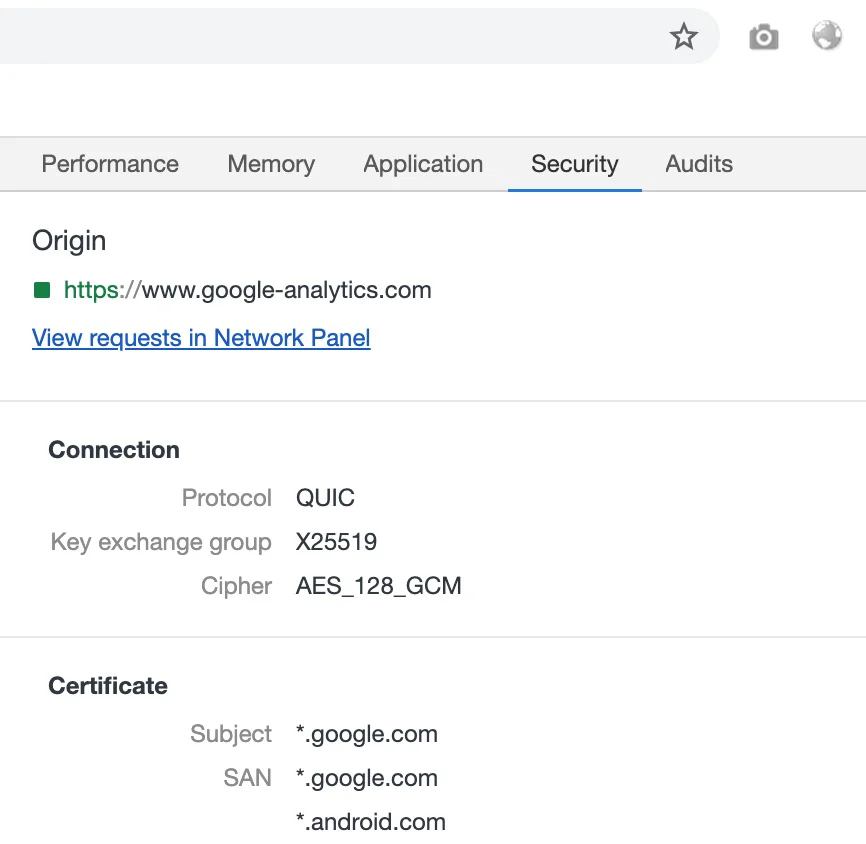
QUIC(Quick UDP Internet Connection)是谷歌推出的一套基于 UDP 的传输协议,它实现了 TCP + HTTPS + HTTP/2 的功能,目的是保证可靠性的同时降低网络延迟。QUIC 是使用 UDP 协议,可以与原来的 TCP 服务不冲突。

Nginx + QUIC
1.16.x1.17.9ubuntu/debian安装依赖
1
apt-get install build-essential automake autoconf make git安装 pcre,支持重写rewrite功能
1
2
3
4
5
wget https://ftp.pcre.org/pub/pcre/pcre-8.44.tar.gz
tar -zxvf pcre-8.44.tar.gz
cd pcre-8.44
./configure
make && make install
安装 zlib, 支持 gzip 压缩
源码下载地址: http://zlib.net
1
2
3
4
5
wget http://zlib.net/zlib-1.2.11.tar.gz
tar -zxvf zlib-1.2.11.tar.gz
cd zlib-1.2.11
./configure
make && make install
安装 nginx
1
2
wget http://nginx.org/download/nginx-1.17.9.tar.gz
tar -zxvf nginx-1.17.9.tar.gz
下载 nginx quic 补丁
1
git clone --recursive https://github.com/cloudflare/quiche还安装 golang 、rust 环境
1
2
wget https://dl.google.com/go/go1.14.linux-amd64.tar.gz
tar -C /usr/local -xzf go1.14.linux-amd64.tar.gz/etc/profile1
export PATH=$PATH:/usr/local/go/bincargo1
curl https://sh.rustup.rs -sSf | sh开始编译
1
2
3
4
5
6
7
8
9
10
11
12
13
cd nginx-1.17.9
patch -p01 < ../quiche/extras/nginx/nginx-1.16.patch

./configure --prefix=/usr/local/nginx \
   	--with-http_ssl_module              	\
   	--with-http_v2_module               	\
   	--with-http_v3_module               	\
   	--with-openssl=../quiche/deps/boringssl \
   	--with-quiche=../quiche \
    --with-pcre=/root/downloads/pcre-8.44 \
    --with-zlib=/root/downloads/zlib-1.2.11

make && make installnginx.confserver1 2 3 4 5 6 7 8 9 10 11 12 13 14 15 16 17 18 19 20 21
server {
    # Enable QUIC and HTTP/3.
    listen 443 quic reuseport;

    # Enable HTTP/2 (optional).
    listen 443 ssl http2;

    listen       80;
    server_name  localhost;

    ssl_certificate  /root/example.com.cer;
    ssl_certificate_key  /root/example.com.key;

    # Enable all TLS versions (TLSv1.3 is required for QUIC).
    ssl_protocols TLSv1 TLSv1.1 TLSv1.2 TLSv1.3;

    # Add Alt-Svc header to negotiate HTTP/3.
    add_header alt-svc 'h3-23=":443"; ma=86400';

    ...
}
启动 nginx
1
/usr/local/nginx/sbin/nginx查看nginx 监听端口
1
2
3
4
# netstat -peanut | grep  nginx
tcp        0      0 0.0.0.0:80              0.0.0.0:*               LISTEN      0          499991     27365/nginx: master
tcp        0      0 0.0.0.0:443             0.0.0.0:*               LISTEN      0          499990     27365/nginx: master
udp        0      0 0.0.0.0:443             0.0.0.0:*                           0          499989     27365/nginx: master
安装过程挺久,还需要有好的网络环境,还要安装 go 和 rust 相关库。还不如直接用 go
go + QUIC
-quiclucas-clemente/quic-golucas-clemente/quic-go写一个go脚本
1
2
3
4
5
6
7
8
9
10
11
12
13
14
15
16
package main

import (
	"github.com/lucas-clemente/quic-go/http3"
	"net/http"
)

func main() {
	http.HandleFunc("/", func(w http.ResponseWriter, r *http.Request) {
		_, _ = w.Write([]byte("hello quic"))
	})

	_ = http3.ListenAndServe("0.0.0.0:443",
		"/root/example.com.cer",
		"/root/example.com.key", nil)
}
编译后运行,查看端口:
1
2
3
# netstat -peanut | grep  http3server
tcp6       0      0 :::443                  :::*                    LISTEN      0          501623     27472/./http3server
udp6 0 0 :::443 :::* 0 501622 27472/./http3server tcp6udp6总结
如果嵌入到单个应用,还是 go 使用比较方便。现在相关库还在完善,不急于部署到生产环境,虽然google 自家已经在很多产品使用 quic

参考
本文网址: https://pylist.com/topic/207.html 转摘请注明来源
