构建package
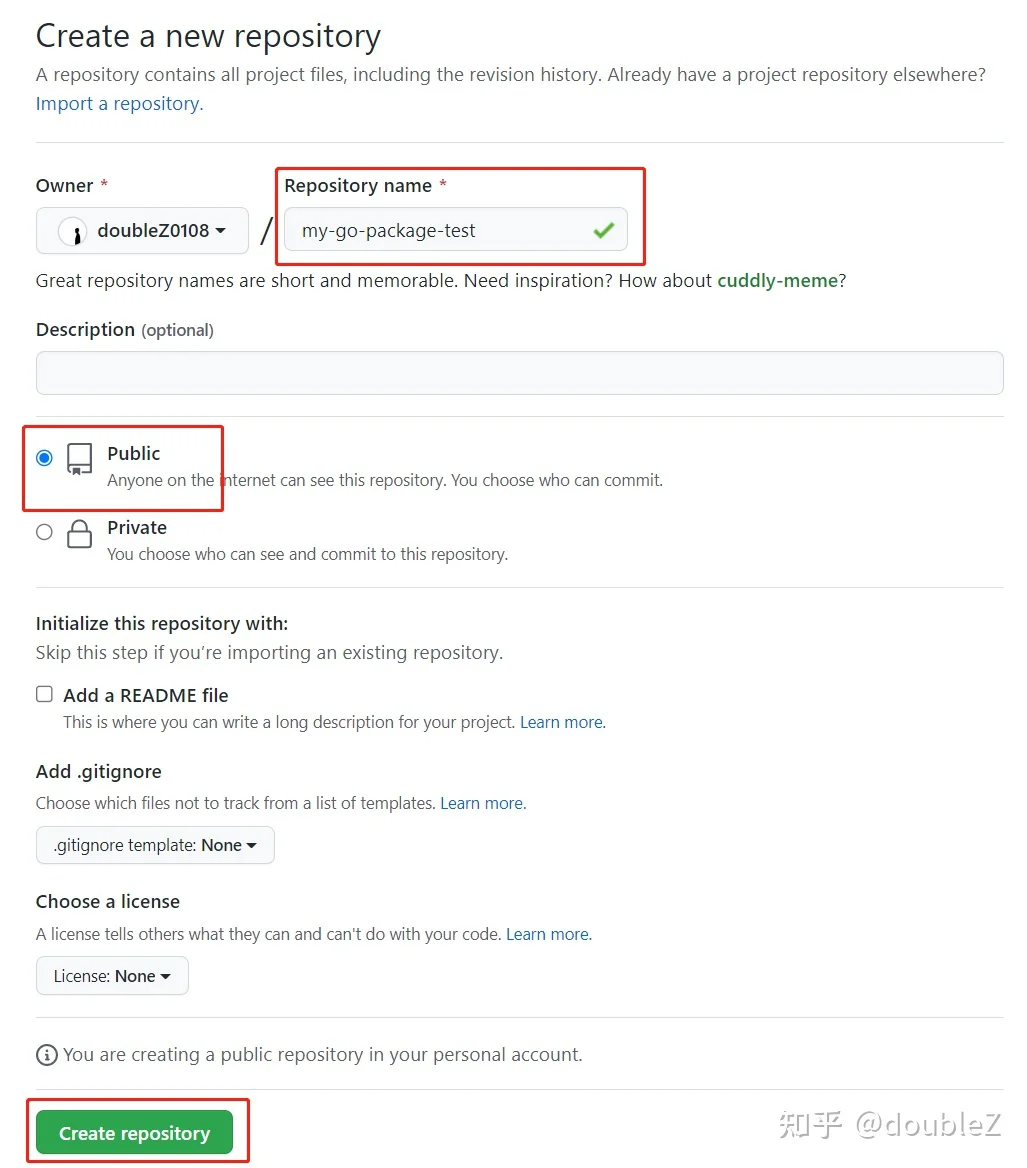
1. 首先,我们在github上创建一个公有仓库并clone到本地
git clone git@github.com:doubleZ0108/my-go-package-test.git
cd my-go-package-test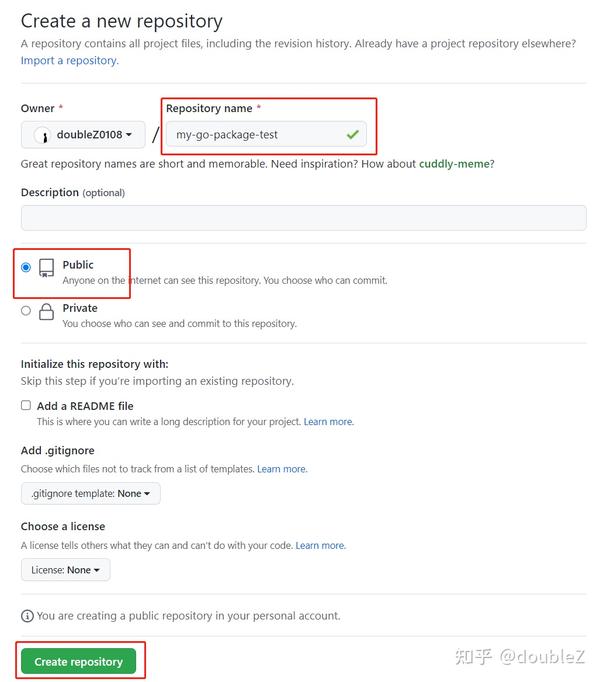
my-go-package-testgo.mod go mod init github.com/doubleZ0108/my-go-package-testmyfunc/myfunc_test.goTestMyfunc(t *testing.T)ExampleMyfunc()go testmyfunc.goMyfunc()6. 在myfunc/文件夹下运行测试,添加-v选项可以详细查看运行流程
$ go test -v

=== RUN   TestMyfunc
--- PASS: TestMyfunc (0.00s)
=== RUN   ExampleMyfunc
--- PASS: ExampleMyfunc (0.00s)
PASS
ok      github.com/doubleZ0108/my-go-package-test/myfunc        2.340s
myfunc.go代码
package myfunc

func Myfunc(x, y int) int {
	return x + y
}
myfunc_test.go
package myfunc

import (
	"fmt"
	"testing"
)

func TestMyfunc(t *testing.T) {
	sum := Myfunc(1, 2)
	expected := 3

	if sum != expected {
		t.Errorf("expected '%d' but got '%d'", expected, sum)
	}
}

func ExampleMyfunc() {
	sum := Myfunc(3, 4)
	fmt.Println(sum)
	// Output: 7
}
发布package
如上已经完成了一个package的构建,接下来:
1. 首先将代码push到远程仓库中
git add *
git commit -m "add myfunc go package"
git push origin master
vx.x.x


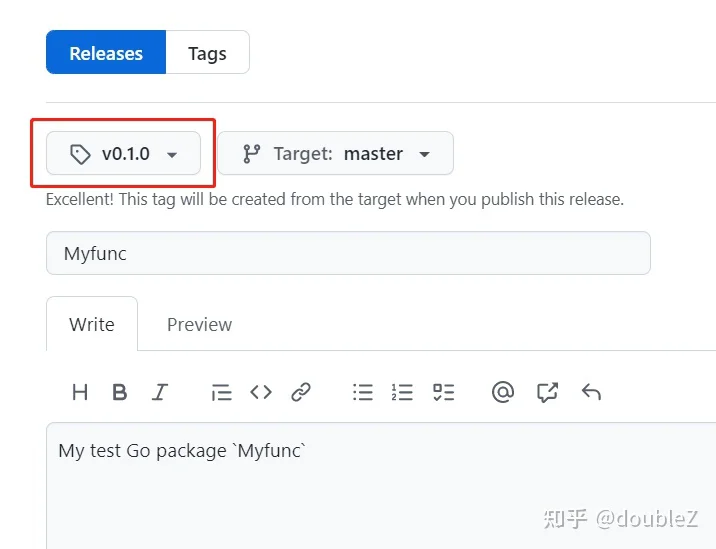
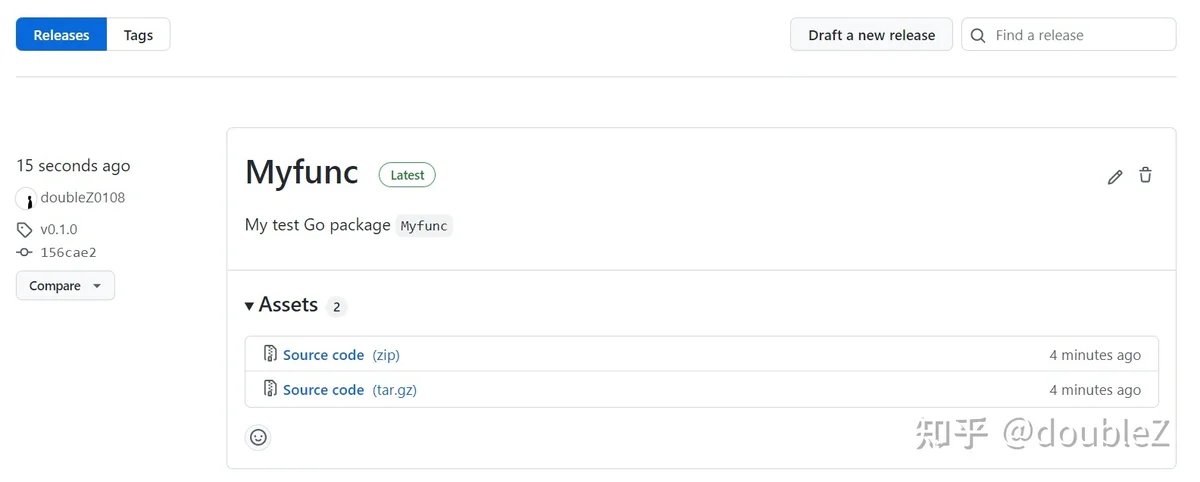
3. 发布之后在Releases选项卡中可以看到我们发布的package

github.com/doubleZ0108/my-go-package-test 5. 所以我们先看看如何在另一个工程中引用我们刚刚发布在github上的“第三方”包
import package
go-main/go-main/go mod initgo mod init github.com/doubleZ0108/main3. 然后通过go get即可下载第三方库
$ go get -u github.com/doubleZ0108/my-go-package-test
go: added github.com/doubleZ0108/my-go-package-test v0.1.0go.sumgithub.com/doubleZ0108/my-go-package-test v0.1.0 h1:HCLq71vGtip5O7E1hjoA1TRTPWqk7whD5WQVwQC26UY=
github.com/doubleZ0108/my-go-package-test v0.1.0/go.mod h1:XXuJIJyJcvLndbLgBAp2WOc4kwtd6TyNAdHQRy+fvnU=main.gogo run main.gomain.gopackage main
import (
"fmt"
"github.com/doubleZ0108/my-go-package-test/myfunc"
)
func main() {
sum := myfunc.Myfunc(99, 1)
fmt.Println(sum)
}
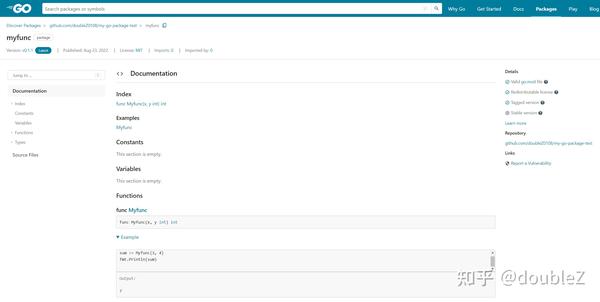
pkg.go.dev
github.com/doubleZ0108/my-go-package-test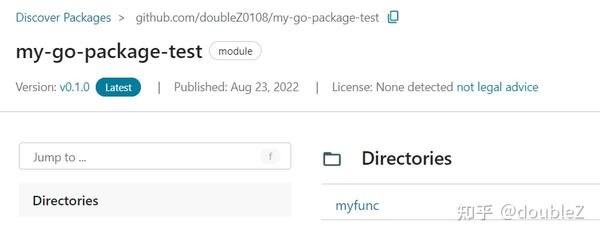
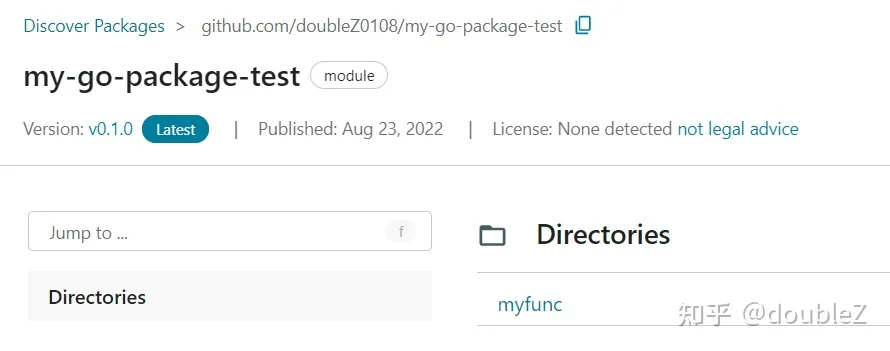
会发现已经有了我们的package myfunc,但是点开之后什么都没显示
这是由于pkg.go.dev的license policy导致的
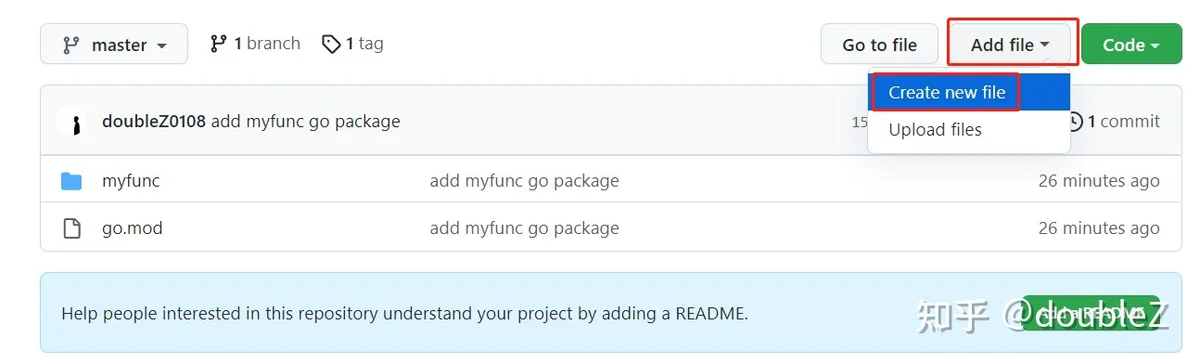
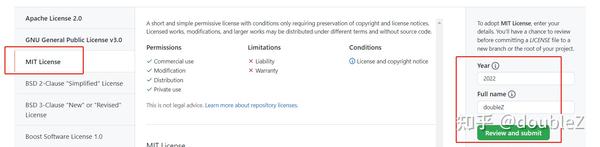
- 我们回到github仓库,Add files → Create new file → 输入LICENSE右侧会自动出现选择模板的按钮 → 选择一个模板,例如MIT License,然后提交这个文件


2. 重新打包一个Releases,这里不妨命名为v0.1.1(注意如果还选择v0.1.0,代码并不会修改,因为会直接使用当时打tag的代码)
3. 我们重新在go-main中拉取一下,注意最好指定一下版本(或最新版),否则会默认用之前cache的v0.1.0版本
go get -u github.com/doubleZ0108/my-go-package-test@v0.1.1 github.com/doubleZ0108/my-go-package-test可以看到我们之前的Example也被很好的记录到Document里了